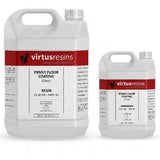

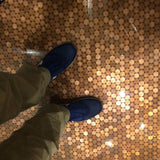
Penny Floor Coating
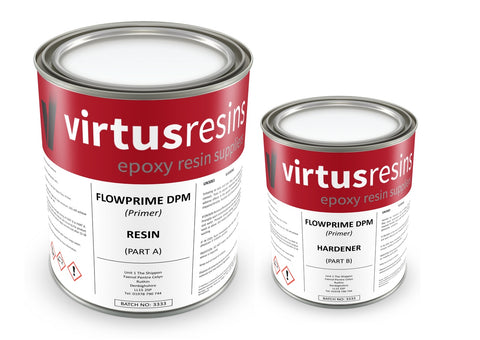
Vendor: Virtus Resins
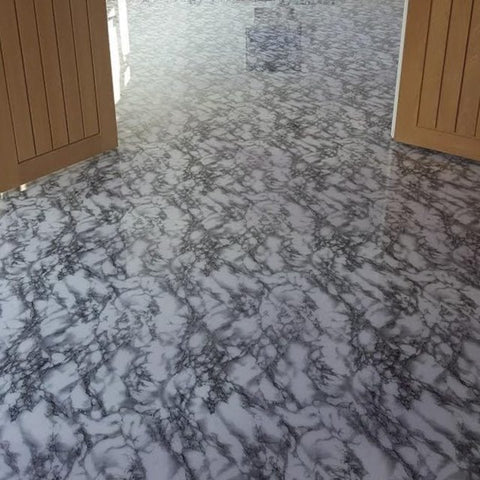
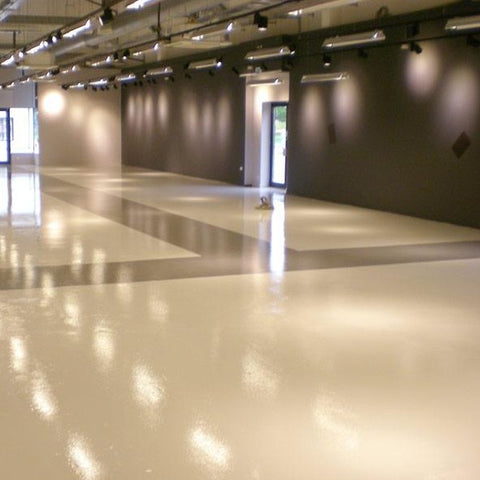
Our Penny Floor Clear Epoxy Casting Resin can be used to cover artwork (paintings, sculptures etc) mould / cast statues, souvenirs, laminate tabletops or even to encapsulate an item in a clear, glossy varnish for eternity. The resin is also used to encase electronic components e.g pc boards, LED lights etc.
It is self-levelling and cures at ambient temperature. Please note this resin has a heat distortion temperature of 45-50 oC which makes it unsuitable for the placement of hot objects on its surface e.g cups, mugs, plates or other crockery.
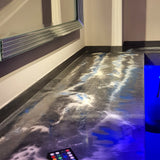
Our resins include derivatives that are optically stable (light-fast) and UV-resistant (will not yellow prematurely from exposure to sunlight).
Coverage
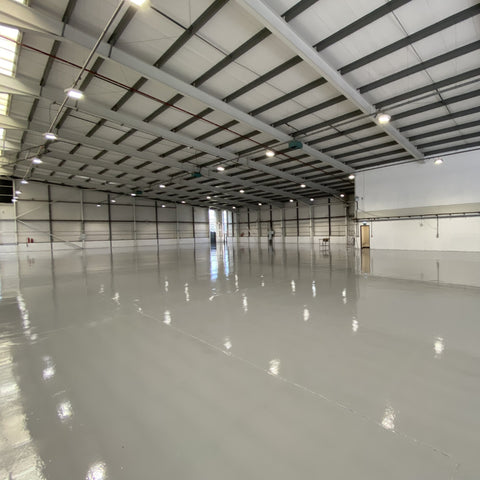
The recommended depth for the Penny Floor resin is to lay it at 3 mm thick. For that, you will require 3 kg per square metre.
You may lay our Penny Floor Resin up to 7 mm thickness in a single pour, whilst still preserving optical clarity.
You may apply multiple layers if required.
Please note: it is not recommended to lay the resin thicker than 7 mm as clear glossy finish might be impaired as well as acquire faint purple hue to it (due to UV blocker).
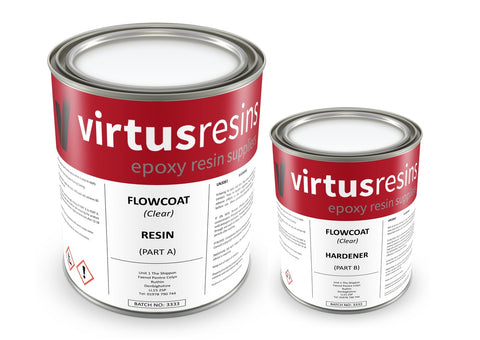
Mixing Ratio:
By weight: 100 + 40, By volume 2 + 1
Note: The mixing ratio must be accurately followed. It is not possible to change the ratio.This would result in lower mechanical properties and the resin not drying properly. The mixture should be thoroughly stirred to ensure full homogeneity. Epoxy systems tend to heat up much faster in a pot than as a thin film. Therefore mix only the necessary amount usable within the given pot life.
Application:
The product generates exotherm when mixed in larger volumes, and becomes unusable very quickly. Hence we recommend that small amounts are mixed initially (2 kg), and once you are more confident and understand the product, amounts can be increased to a maximum of 5-7 kg at a time.
Level:
Ensure your piece is perfectly flat and level, otherwise the resin will run to the lowest point and “pool” in the centre, leaving too little resin at the corners. On large canvas paintings / pictures you should tighten the canvas as much as possible or place a board underneath to support it uniformly.
Bubbles:
Any bubbles created by hand-mixing can be easily popped by using a sharp object or by passing warm air over the surface of the resin (e.g using a blowtorch or hot air dryer on slow speed setting).
Blowtorch:
Don’t hold the blowtorch or hot air blower closer than 30 cm to your floor otherwise you risk creating ripples and dimples in the resin finish.
Dust
You will need to protect the piece from dust accumulation for at least 12-24hrs. You can do this by using a dust sheet or a box to cover the piece.
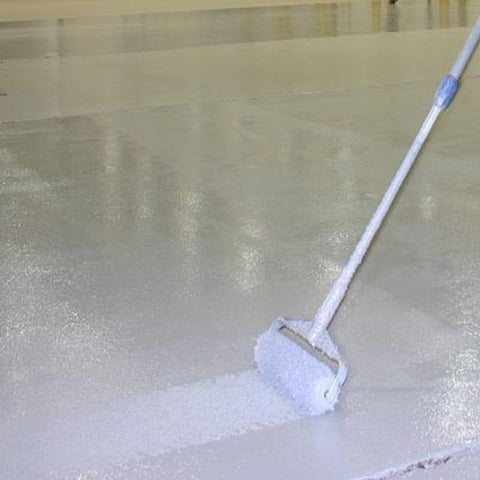
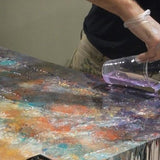
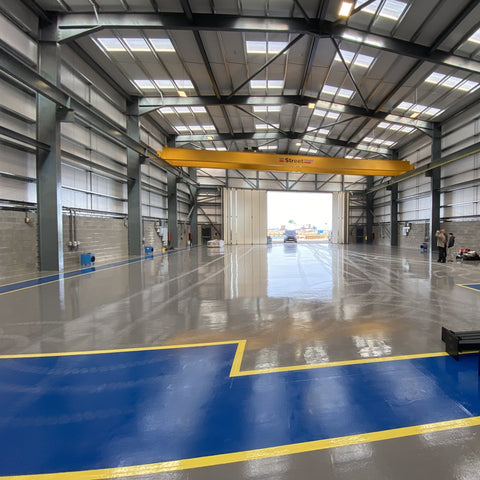
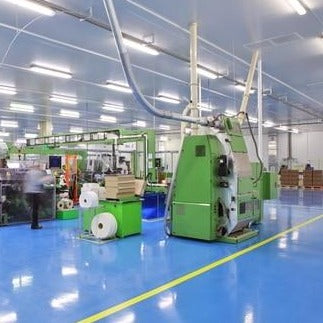
The system can be applied by hand pouring or by brush / roller. The resin can be tinted any colour with the addition of pigments available in solid and metallic effect colours.
Mix in the ratio of 2:1 (by volume) until it is a uniform colour and consistency (usually 3-4 mins).
Sealing Coat
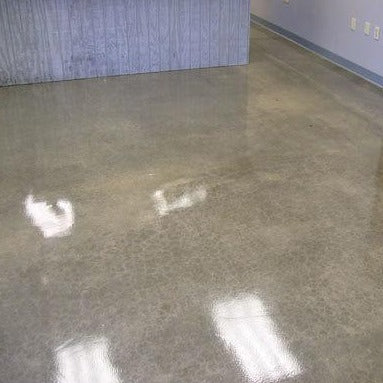
If the material you are pouring Penny Floor Resin onto is not porous, for example plastics, metals, marble or granite then you do not need to seal the surface. If the material you will be pouring Penny Floor Resin over is porous such as wood, chipboard, MDF or ceramic materials then it is highly recommended to apply a sealing coat before the main pour. Doing so will improve the flatness of the final surface and help to eliminate warping of the substrate after cure. Mix around 500 g of Penny Floor Resin per square metre of surface you need to seal. Don’t worry if most of the resin seems to be absorbed by the substrate; this is normal for the sealing coat. Allow the ‘sealing coat’ to cure before proceeding. Depending on the ambient temperature, this is likely to take around 24 - 48 hrs. It should feel hard and not at all tacky. In order to ensure that the next layer of Penny Floor Resin bonds well to the sealing coat it is necessary to ‘key’ the surface of the sealing coat using some coarse abrasive paper. This will also help to flatten off any slight raised texture where the substrate has absorbed some of the sealing coat. Don’t worry that the surface then looks scratched and light in colour - this will disappear as soon as the next layer of resin is poured.
Technical Datasheets
Penny Floor Coating

Related Product


Best Sellers