
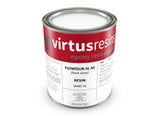
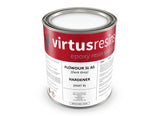

Flowdur SL A/S - Anti Static Polyurethane Self-Leveller
Vendor: Virtus Resins
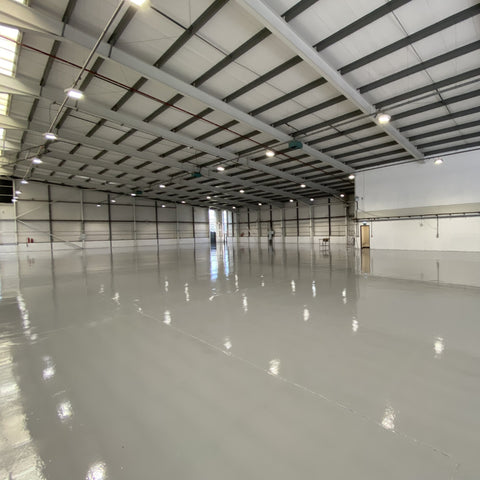
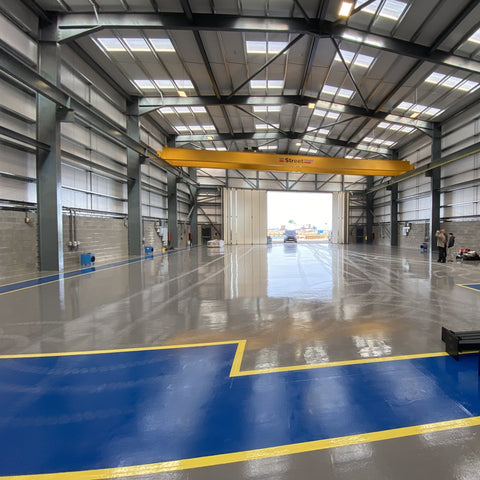
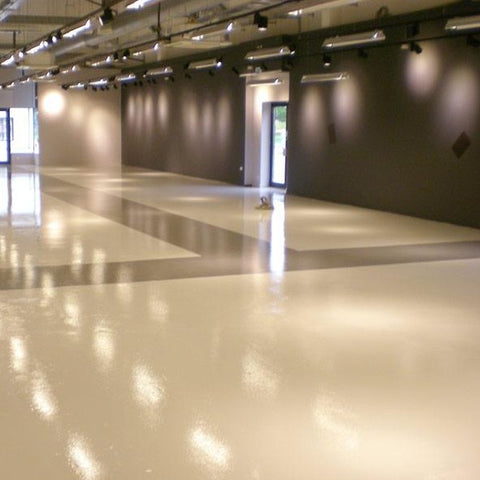
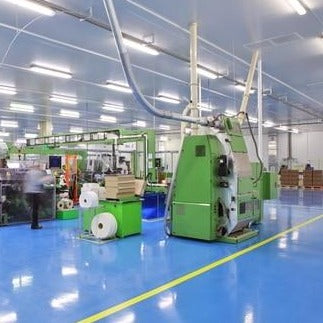
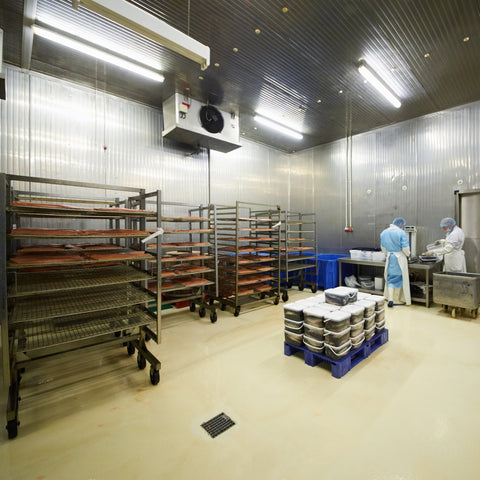
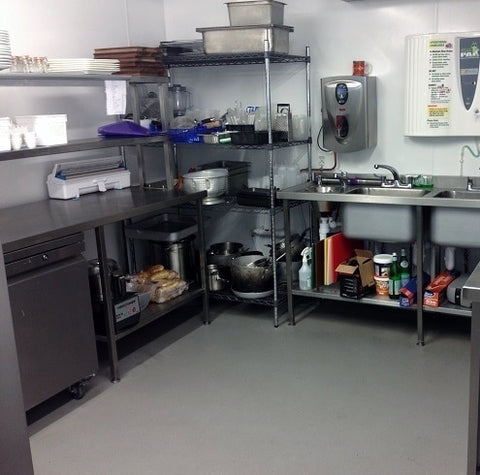
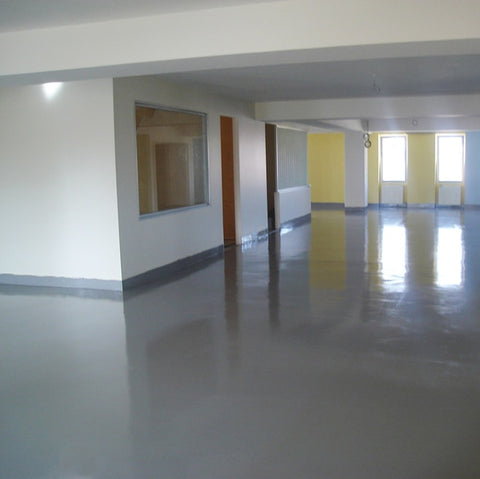
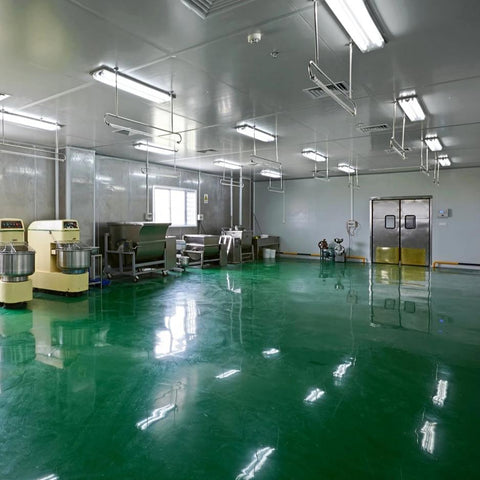
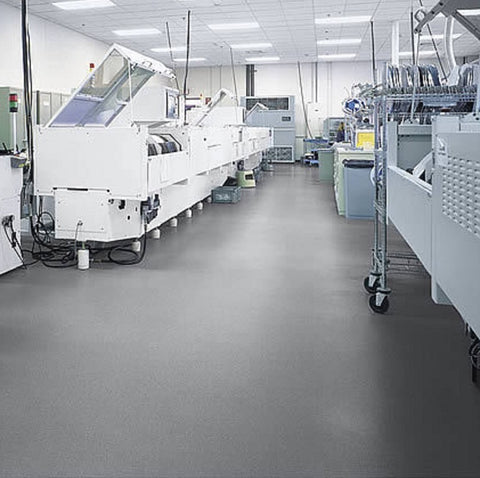
Flowdur SL A/S is a is a medium duty flow applied polyurethane floor topping with static dissipative properties for use on concrete and polymer modified cementitious screeds. Flowdur SL A/S is designed with the highest order of durability, impact, abrasion and chemical resistance. Its easy to clean, smooth, matt finish makes the product ideal for environments such as the food, beverage, engineering and chemical industries wherever the control of unwanted static electricity is required.
AppearanceSeamless, smooth, matt finish.
Thickness
3 mm nominal
Chemical Resistance
Flowdur SL A/S is resistant to a wide range of commonly used chemicals in the food, dairy and pharmaceutical industries such as concentrated citric acid (fruits), spirit vinegar (50% acetic acid), lactic acid(food & dairy products) and common alcohols (methanol & ethanol). Flowdur SL A/S is also resistant to a wide range of inorganic acids, fuels, hydraulic oils, mineral oils and solvents.
Priming
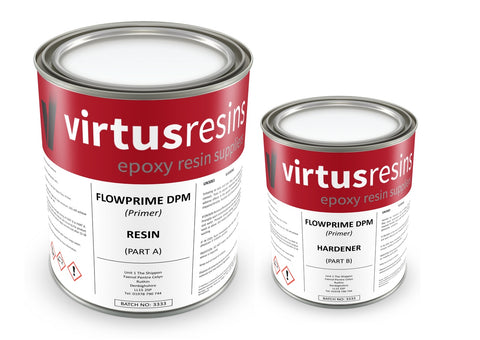
The substrate should have a relative humidity of <75% otherwise Flowprime DPM should be used. Initial priming should be carried out using Flowprime SF to isolate the substrate and provide a dust free surface to receive the copper tape. Take particular care to prime but not fill the anchor grooves.
Spread onto the substrate and roll with a short-haired roller to ensure even coverage until the surface is completely wetted out, taking care to avoid pooling. Apply around the edges of and into anchorage grooves by brush, to allow even spreading and avoid pooling. If, when cured, there are dry patches, a further primer coat is required. Allow to cure for a minimum 12 hours at 20 ºC. If the primer has been left to cure for >48 hours then the primer surface should be mechanically abraded and the area re-primed. Failure to do so may result in pin-holing of the surface topping.
Install copper tape and connect earth linkage cables to the primed substrate. Apply Flowprime ESD at a rate of 0.25 kg/m² with a short-haired roller ensuring even coverage and avoiding pooling. When cured, ensure there are no glossy or bare patches. If so, re-prime using Flowprime ESD (see separate datasheet).
Coverage
5.5kg/m² (minimum).
Curing Schedule
- Working life of a full pack - 15 minutes
- Cure time to light pedestrian traffic - 12 hours
- Cure time to light wheeled traffic - 24 hours
- Cure time to heavy duty traffic - 48 hours
- Full chemical cure - 7 days
Application Conditions:
Ideal ambient and substrate temperature range is 15 - 25 ºC. Localised heating or cooling equipment may be required outside this range to achieve ideal temperature conditions. The aggregate can be stored in a cool area (or warm area in the case of low ambient temperature) in order to control product temperature and working life. The substrate and uncured floor must be kept at least 3 ºC above the dew point to reduce the risk of condensation or blooming on the surface, from before priming to at least 48 hours after application.
Surface Preparation:
Inadequate preparation will lead to loss of adhesion and failure. In flow applied systems there is a tendency for the finish to mirror imperfections in the substrate. Grinding, or light vacuum-contained shot-blasting is therefore preferred over planing for these systems. Percussive scabbling or acid etching is not recommended. The substrate should be finished to a surface regularity when tested according to BS 8204-1 of class SR1 otherwise a scratch coat will be required.
Anchorage grooves should be cut to a width and depth of twice the thickness of the floor finish up to a maximum of 10 mm at the edges, bay joints, up-stands, drains, doorways and at regular points across the floor, and all debris removed. Refer to the Virtus Guide to Surface Preparation for further information..
Priming:
The substrate should have a relative humidity of <75% otherwise Flowprime DPM should be used. Initial priming should be carried out using Flowprime SF to isolate the substrate and provide a dust free surface to receive the copper tape. Take particular care to prime but not fill the anchor grooves. Spread onto the substrate and roll with a short-haired roller to ensure even coverage until the surface is completely wetted out, taking care to avoid pooling. Apply around the edges of and into anchorage grooves by brush, to allow even spreading and avoid pooling. If, when cured, there are dry patches, a further primer coat is required. Allow to cure for a minimum 12 hours at 20 ºC. If the primer has been left to cure for >48 hours then the primer surface should be mechanically abraded and the area re-primed. Failure to do so may result in pin-holing of the surface topping.
Install copper tape and connect earth linkage cables to the primed substrate. Apply Flowprime ESD at a rate of 0.25 kg/m²with a shorthaired roller ensuring even coverage and avoiding pooling. When cured, ensure there are no glossy or bare patches. If so, re-prime using Flowprime ESD (see separate datasheet).
Mixing & Application:
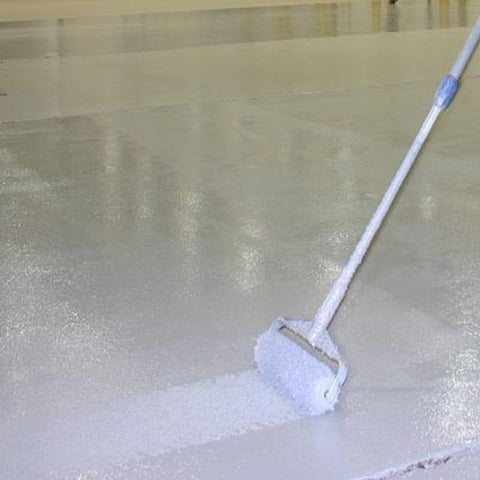
Prior to mixing, the temperature of the four components must be between 15 and 25ºC. Pre-mix the coloured resin component before use. Add the hardener component to the coloured resin component and mix using a low speed electric mixer (300 - 400 rpm) for approximately 30 seconds until blended. Add the contents of the fibre bag and continue to mix for a further 30 seconds until the fibres are evenly dispersed. Transfer to a larger mixing vessel or rotary drum mixer ensuring that any fibres are scraped from the sides of the resin container or spun off the mixing paddle. Add the aggregate component in stages, mixing for a minimum of 3 minutes and scraping sides of vessel until a uniform coloured, lump-free mix is obtained.
Each mix should be mixed in exactly the same way for the same length of time to minimise the risk of shading. Apply the mixture immediately onto pre-primed areas , level to the required thickness using a steel float then de -aerate using a spiked roller. Spiked rolling should be carried out within three minutes of application in order to avoid interfering with flow and surface finish. Ensure that anchor grooves are fully wetted out with material.
The cured product should be protected from other trades using Kraft paper or similar breathable material. Polythene should not be used.
Protect the installed floor from damp, condensation and water for at least 4 days.
Certain colours can be made to order subject to availability.
| CHARCOAL | MID GREY | DARK GREY | RED |
| GREEN | CHELSEA BLUE | MIDNIGHT BLUE |
Technical Datasheets
Flowdur SL A/S Technical Data Sheet

Safety Data Sheets
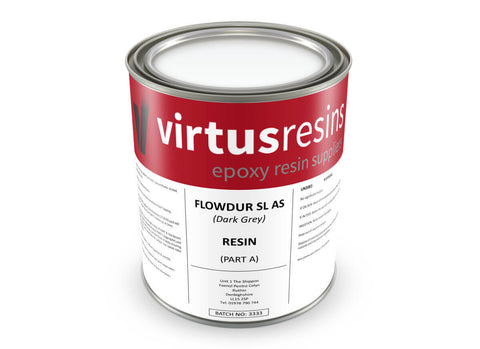
Flowdur SL A/S Resin
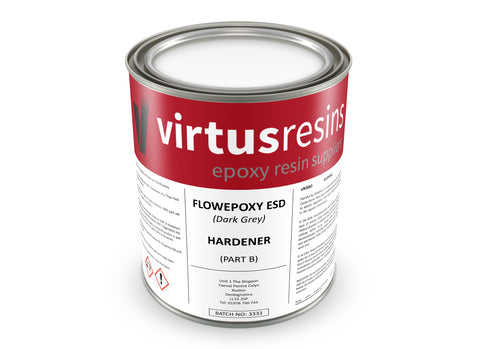
Flowdur SL A/S Hardener
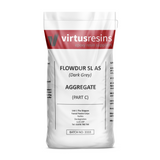
Flowdur SL A/S Aggregate
FlowDUR SL A/S Carbon Fibre
Related Product

Best Sellers