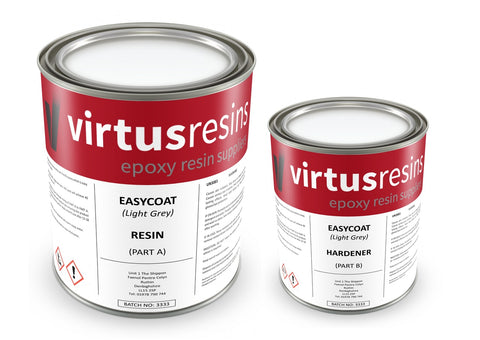

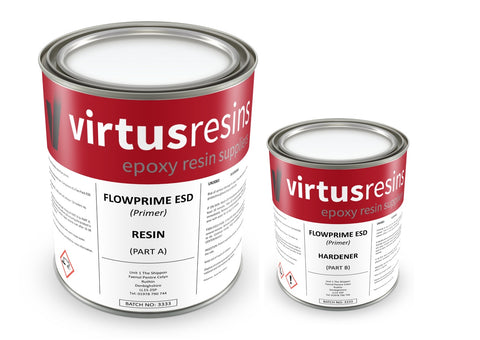
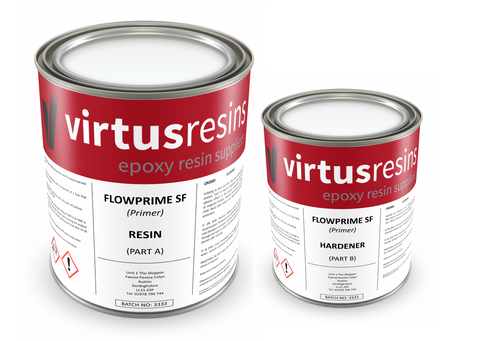
Flowprime ESD - Anti-Static System Primer
Vendor: Virtus Resins
Flowprime ESD is a two-component solvent-free conductive primer based on waterborne epoxy technology.
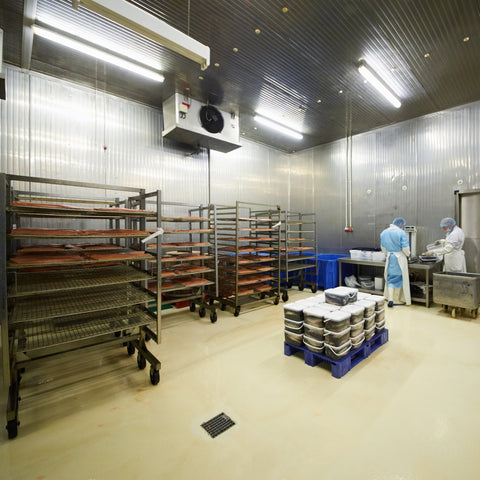
Uses
Flowprime Anti-static is used as a conductive primer for anti-static and electrostatic dissipative systems such as Flowdur HF Anti-static, Flowdur SL Anti-static and Flowepoxy Anti-static.
Advantages
- Low viscosity / easy to mix and apply
- Long pot-life
- Conductive
- High solids
Typical Properties @ 20°C
Mixed density - 1.2 g/cm3
Solids content - 48% by volume
The typical physical properties given above are derived from testing in a controlled laboratory environment. Results derived from testing field-applied samples may vary, dependent on actual site conditions.
Coverage
250 g/m² per coat. Coverage will be reduced by rough, porous substrates and low temperatures.
Cure Schedule @ 20 ºC
Working life of full packs* - 45 minutes
*Usable working life of material following mixing and immediate spreading as per the application instructions.
Finished floor*
Over-coat time - 12- 48 hours
Full chemical resistance - 7 days
*The above cure times are approximate and given as a guide only. These times can vary due to prevailing site conditions.
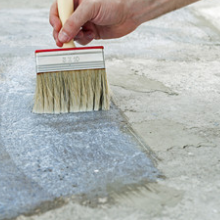
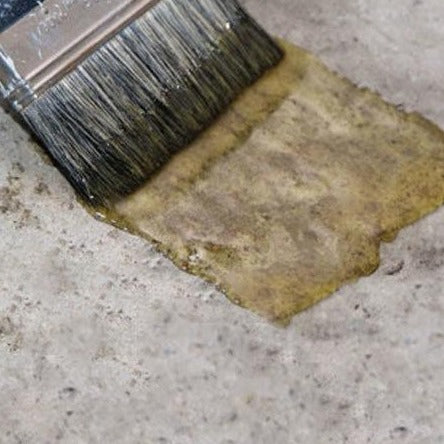
Priming:
Flowprime ESD must be applied to surfaces pre-primed with Flowprime SF which has been allowed to cure. Apply evenly using a medium pile roller or brush. Do not exceed the coverage rate of 4m² /kg. Do not pour directly onto the substrate as this may result in thick patches. Use a 1” paintbrush to work material into earthing and bridging points ensuring good contact. When cured, the resistance to earth as measured by the chosen test method should be 5 x 10⁴ ohms or less. This test must be carried out and logged. If, when cured, there are glossy or bare patches, a further primer coat is required. Allow to cure for a minimum 12 hours at 20°C. If the primer has been left to cure for >48 hours then the primer surface should be mechanically abraded and the area re-primed.
Mixing:
Flowprime ESD is a two-component product. Fully drain the contents of the hardener component into the resin component and mix thoroughly with a low speed electric mixer (300 - 400 rpm) for a minimum of 3 minutes scraping sides and bottom of container until homogeneous. Pour the material into a fresh container and mix for a further minute.
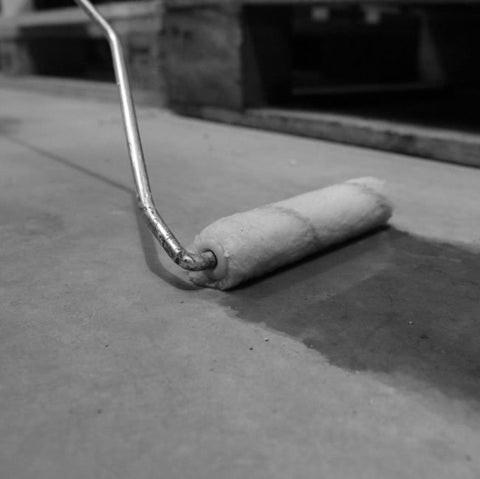
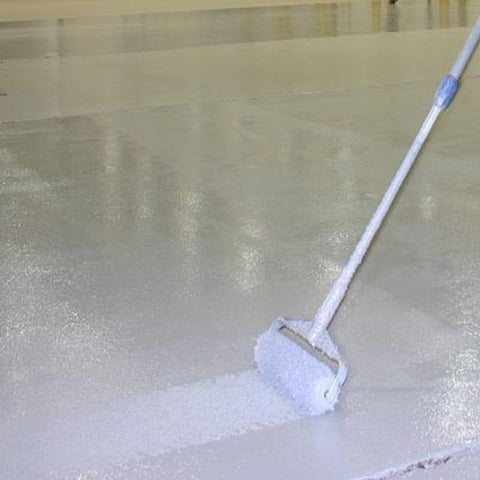
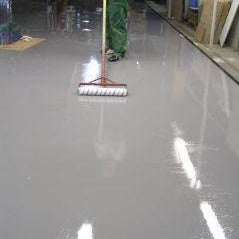
Application:
Once mixed the primer should be applied immediately in a thin continuous film. Work the primer into the surface using a stiff brush or roller avoiding pooling. On porous surfaces Flowdur ESD Pimer will be absorbed very quickly leaving dry patches. A second coat should be applied to these dry areas to ensure good adhesion and reduce the possibility of air release from the substrate causing bubbles or pin holing in the final topping.
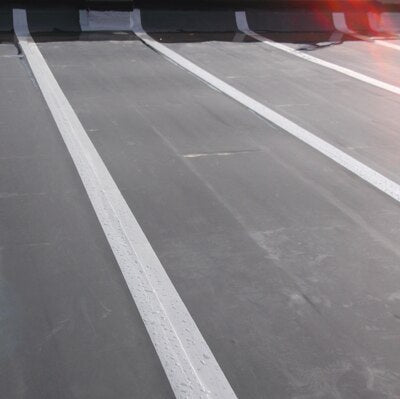
Earthing:
It is recommended that each individual slab is either connected to each other by bridging or each individual slab be directed to earth. The use of copper tape is recommended for this purpose. As a general rule, apply copper tape at maximum 4 metre centres ensuring that no part of the floor is more than 2 metres away from copper tape.
Connection to Earth
- 1. Prime floor surface using Flowprime SF.
- 2. When primer is dry, bond the copper tape to the primed concrete and connect the end of the tape to suitable earth points.
- 3. Overcoat to top of tape with Flowprime ESD.
- 4. When primer is cured, apply the final finish.

Bridging live joints
- 1. Prime the floor surface with Flowprime SF.
- 2. Apply copper tape either side of the joint ensuring that the tape within the joint is looped at least 20 mm below floor level. Fill the chase with a suitable repair product.
- 3. Overcoat the exposed copper tape with Flowprime ESD.
- 4.Fill the top of the joint with closed cell polythene backer rod and overlay the joint completely with the final finish ensuring that the path of joints is clearly marked.
- When cured, saw cut out the topping - replace the rod at required depth and seal the joint with suitable joint sealant.

Day Joints:
On large areas, it may be necessary to incorporate a day joint or suspend the laying operation due to project scheduling. In this case, the floor should be treated as follows:
- 1. Saw cut a 5 mm wide x 10 mm deep chase into the floor for a distance of 50 mm either side of the proposed day joint.
- 2. Apply copper tape to the primed floor leaving a leading strip into the next bay then apply Flowprime ESD and the final finish to the edge of the day joint. Fill the chase as necessary.
- 3. Saw cut the exposed edge of the final finish when ready to recommence work then apply Flowprime ESD and the topcoat to the new area. Ensure that the top surface of the leading copper tape is clean before applying Flowprime ESD.

Technical Datasheets
Flowprime ESD

Safety Data Sheets
Flowprime ESD Resin
Flowprime ESD Hardener
Related Product


Best Sellers